
Making a T-Shirt Step by Step Using a Cricut & HTV - Beginner Friendly!
If you want to know how you can design and make t-shirts from your own home, keep on reading! This tutorial will go step by step from start to finish on how to design, cut and press a t-shirt. I also listed all of my favorite products that are used along the way (they will be linked in the photos)!
S T E P 1 :
DESIGNING YOUR IMAGE:
The first step to t-shirt designing and printing is to come up with what you want to put on your shirt!

For all of my own designs, I use the app Procreate on the iPad 8 with the Logitech crayon to sketch out my ideas. I recommend using Procreate, especially for beginners since it is very user friendly. If you are comfortable with other programs like Adobe Illustrator, you can use that as well!
S T E P 2 :
TRANSFERRING YOUR DESIGN TO CRICUT DESIGN SPACE:
After you complete your design, save it to your iPad. When I transfer my artwork to my computer, I usually airdrop it since I have an Apple Mac, but you can also email it to yourself or download it to your cloud.
Open Cricut Design Space on your computer and upload your image.

If you have any grey spots in your image like below, use the magic wand to delete those areas and make it transparent.

Once your image is transparent, it will give you an upload type selection. You will need to choose the cut image.

S T E P 3 :
CUTTING OUT YOUR DESIGN:
Once you have your image uploaded to Cricut Design Space, you are going to cut it out! You will want to check your dimensions of your image to make sure they are the correct size for your shirts.

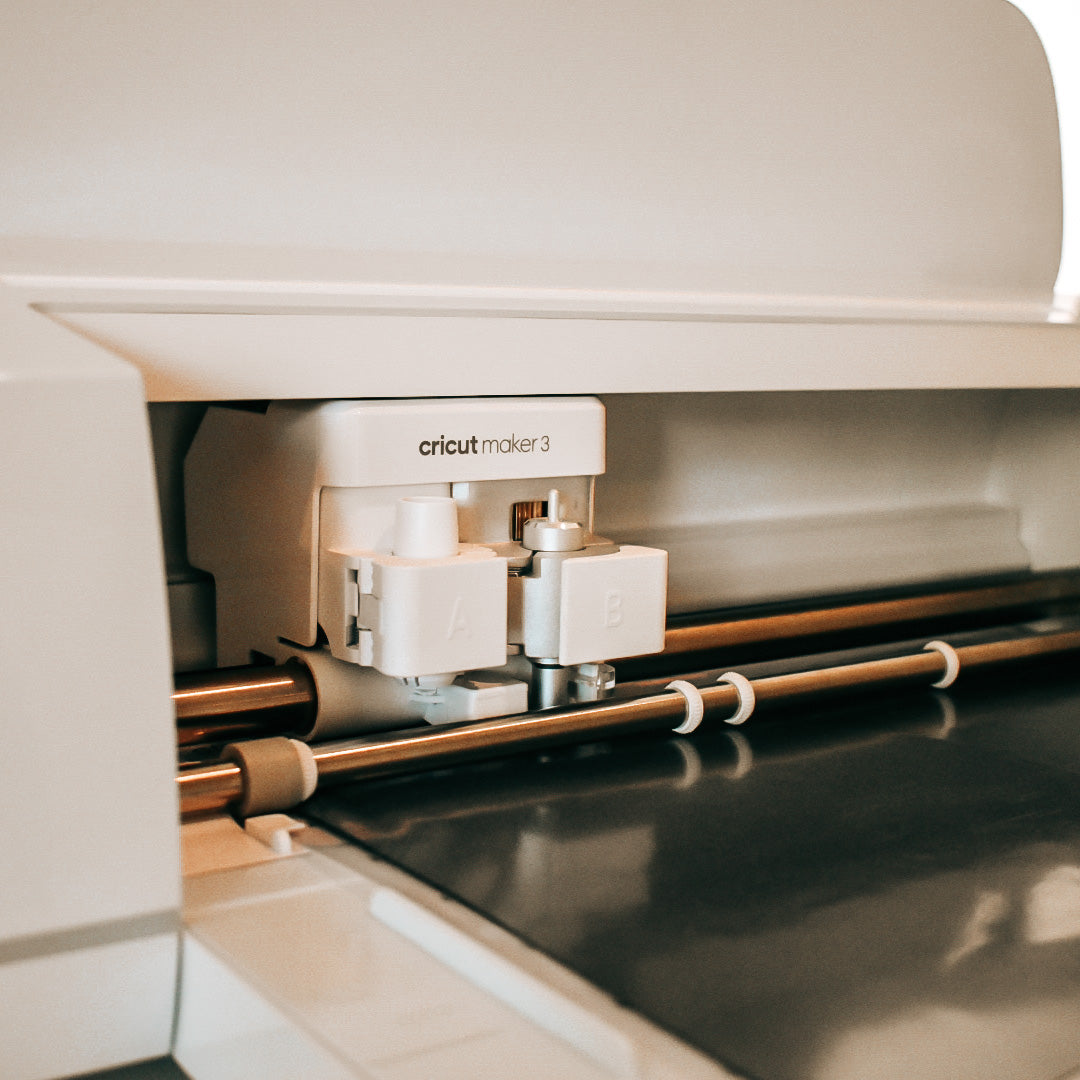
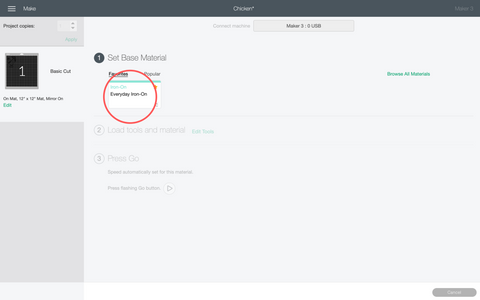
Set your Cricut to the 'Iron On Vinyl' settings. There will either be a knob (if you are using the Cricut Air) or it will be virtual if you are using the Cricut Maker 3.
The next step is one of the most important parts… MIRROR YOUR IMAGE. If you forget to mirror it, your design will be backwards on your shirt!

Grab a 12X12 sheet of heat transfer vinyl (I use Siser Easyweed from Heat Transfer Warehouse).

Stick your sheet onto a 12x12 sticky mat with the shiny side facing DOWN onto the mat. The matte side should be visible and exposed. Load your mat into the Cricut. There will be a flashing light with an arrow once it is ready.

After your mat is loaded correctly, press the start button and watch the magic happen!

S T E P 4 :
WEEDING:
When your design is finished cutting, the arrow button will blink again letting you know the project is complete, and it’s safe to remove the mat. If your image was small, you can cut around it and save the extra vinyl scraps for another project.
Next you are going to use your weeding tool to remove all the extra vinyl around your design. This part can be very tedious depending on the complexity of the design you chose. When you are finished weeding, you will be left with your design on a clear sticky sheet.


Weeding can be very difficult and messy, but I came across this vinyl scrap collector that is very handy when you have small pieces of vinyl you need to get off the end of your weeding tool! It saves a lot of time, and minimizes the mess.

S T E P 5 :
HEAT PRESSING:
Now that you have your design uploaded, cut, and weeded, it’s time to press!
For this step, you are going to need a heat press. Mine is the Craft Heat Press from Swing Designs and it is 15X15.
On the heat press, it will have a temperature button and a time button. The temp. Is how hot it will be when you are pressing your shirts, and the time will be for how long. I always keep my temperature at 315-320 degrees and my time at 15 seconds.

Place your shirt face up (if you are putting your design on the front) and press it for ~3 seconds to get out all the wrinkles.

When it's wrinkle free, you can now place your design down! To make sure I am placing my image in the correct spot every time, I use a t-shirt ruler and a regular ruler to ensure the placing is consistent with every shirt.

When you are satisfied with the location of your design, place a teflon sheet over the image. This prevents your transfer from sticking to your heat press, and it protects your clothes. A teflon sheet will come with your heat press, but they are also available on Amazon!

Now press your shirt at 315-320 degrees for 15 seconds. Once you hear a beeping and the timer has ran out you can release the press.

Peel the plastic transfer away and the HTV should be stuck to your shirt. With some HTV, you will need to wait until your shirt cools before you can peel safely, but with the Siser Easyweed, you can peel it when its cool or hot!

After the transparent transfer is removed and your shirt is complete, I keep it under the press, place the teflon paper over it one more time and press it for 3-5 seconds. I have never had any peeling with my designs, even after many many washes!
…and finally, its complete! Now you can rock your very own custom tee!


6 comments
Thank you so much for this. I have 4 Cricut machines, and hardly know how to use them🙈…Also need to make time. This was helpful. I just like giving away gifts..😊🙏