
How to Brand Your T-Shirts & Apparel for Your Small Business
Branding your t-shirts can take them to the next level! Not only do they look more professional, but it also helps customers remember where they bought their new favorite shirt. A lot of blanks (specifically Gildan and Port & Company) have tear-away tags so you can add your own label & make the shirt 100% YOUR brand. Be sure to leave the materials tag on though!
I am going to walk you through step by step how I create my tags on Canva and how to upload your artwork to Transfer Express to get your very own custom screen print transfers!
Step 1:
Create your design on Canva. I started out with a 14”x11.5” custom-sized sheet. I then made my tags with my company name and the sizes below (note: I made more mediums and larges since those are the most popular sizes!). After I designed my tags, I positioned them on my sheet to get the most out of the space I had. I then saved my design as a transparent PNG.

Step 2:
Next, you are going to create an account at Transfer Express. Once you are logged in, go to the home screen → products → Screen printed transfers and scroll down till you see Goof Proof Screen Printed Transfers.


Step 3:
Click on the goof proof transfers and go down to the button that says “start designing in easy view”.
*make sure to take note of the artwork guidelines!

Step 4:
Upload the PNG file that you designed on Canva and make sure the background is completely transparent! What we are designing is considered a “gang sheet” since there are multiple pieces of artwork on one sheet. For these tags, I ordered them in white, but I also went back & ordered them in black as well!


Step 5:
Submit your design and sit back and relax! Transfer Express is very speedy when it comes to shipping and I usually receive the transfers in just a few days. Here is the price break down of my order. I was able to fit 40 tags on one sheet and I ordered 18 sheets. In total, I got 720 tags and payed $115.08 (including shipping). This breaks down to about 15 cents per tag!


Step 6:
Once you get the transfers, cut them apart and sort them by size.
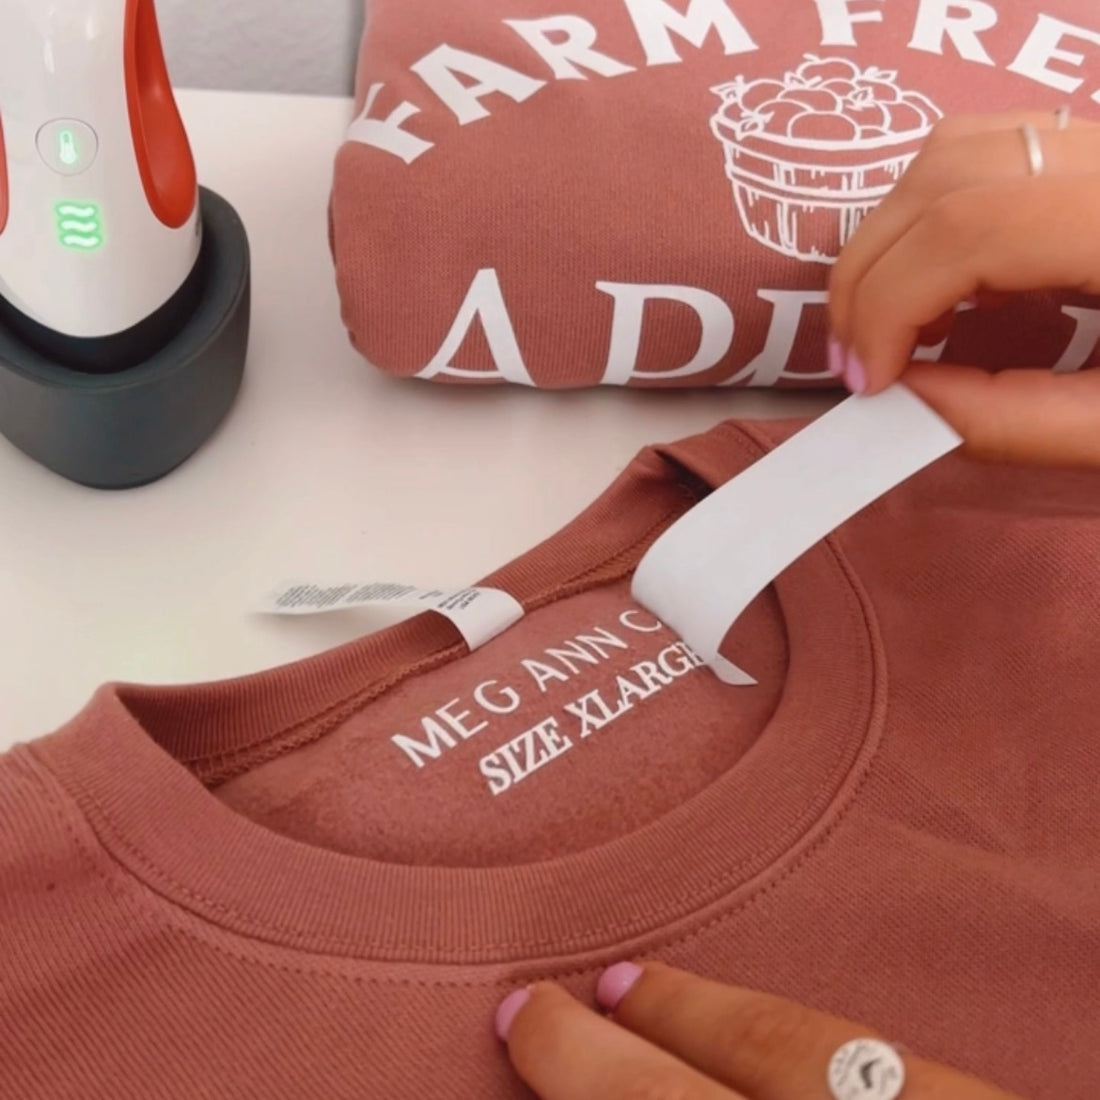
Step 7:
Iron on your transfer! I use the Cricut Mini Press at the highest heat setting and use as much pressure as a can. Run the iron over the full design for about six seconds. Pull back the paper to reveal your new branded shirt!

2 comments
I am having a hard time getting the custom sheets, can you help
Hi! I’ve been trying to do this and follow each step you’ve done but every time it says my cost per sheet is $18! I see that your price per sheet it’s about $5! So I don’t know what I’m doing wrong or what! Thanks for this for sure though it’s amazing what you do to help others! 🤍